Every time I pull a chocolate cobbler from the oven, memories of my grandmother’s kitchen flood back. The rich aroma of warm chocolate fills the air, making an ordinary evening magical. This classic Southern desserts recipe is more than a treat—it’s a link to generations of home baking traditions.
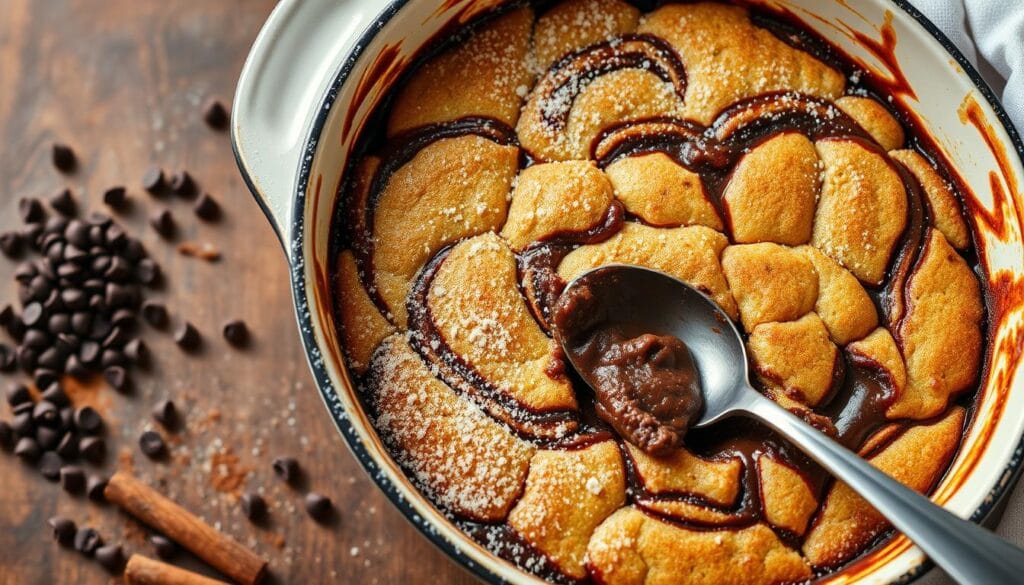
Your chocolate cobbler recipe journey starts with a dessert that surprises everyone. Unlike typical cobblers, this dish transforms into a brownie-like top over a rich fudge sauce. It’s like a lava cake and comfort food all in one.
Imagine serving a dessert that looks fancy but is easy to make. This chocolate cobbler recipe offers restaurant-quality indulgence without needing professional baking skills. It’s perfect for both new and experienced bakers.
Get ready to make a dessert that will be a family favorite. A chocolate cobbler that will make everyone excited to gather around the table.
Table of Contents
Understanding the Magic of Chocolate Cobbler
Chocolate cobbler is a special twist on traditional desserts. It turns the classic cobbler into a rich, decadent treat. Unlike fruit cobblers, it focuses on chocolate, making it a unique dessert experience.
What Makes It Different from Regular Cobblers
Traditional cobblers use fresh fruits. But chocolate cobbler swaps fruit for a rich chocolate batter. This change creates a new dessert experience.
- Chocolate-based batter instead of fruit filling
- Unique layering technique
- Intense chocolate flavor profile
The Science Behind the Two-Layer Formation
The baking process of chocolate cobbler is truly magical. When hot water is poured over the batter, a fascinating two-layer formation occurs:
- A crispy, cake-like top layer develops
- A gooey, pudding-like bottom layer forms
“Chocolate cobbler is like a delicious magic trick happening right in your oven!” – Pastry Chef Sarah Matthews
Why It’s Called a Cobbler
Despite its unique features, it’s called a cobbler because of its biscuit-like top. The cobbled or uneven surface looks like traditional cobbler crusts. This keeps the name while giving chocolate lovers a dream dessert.
Essential Ingredients for Perfect Chocolate Cobbler
Making delicious homemade chocolate desserts begins with the right ingredients. The success of your chocolate cobbler depends on using top-notch components. These ingredients come together to create a rich, decadent treat.
Here are the key ingredients you’ll need for your chocolate treats:
- Unsalted butter – Adds richness and helps make the texture smooth
- Granulated sugar – Brings sweetness and helps make the top layer crisp
- Unsweetened cocoa powder – Gives intense chocolate flavor
- Self-rising flour – Creates the signature cobbler texture
- Whole milk – Adds moisture and helps ingredients bind
- Pure vanilla extract – Boosts the overall chocolate flavor
The quality of cocoa powder is key in your homemade chocolate desserts. Professional bakers suggest using Dutch-processed cocoa. It adds deeper, more complex chocolate notes.
Pro tip: Always use room temperature ingredients for smooth mixing and consistent texture.
When picking ingredients, choose fresh and high-quality ones. Your chocolate cobbler will reward you with an incredible depth of flavor. This turns a simple dessert into a memorable experience.
Kitchen Tools and Equipment Needed
Creating delicious baked goods like chocolate cobbler needs the right tools. Whether you’re new or experienced, the right equipment makes your recipes stand out. Let’s look at the key tools for a tasty chocolate cobbler.
Choosing the Right Baking Dish
The baking dish is key for a great chocolate cobbler. A 9×13 inch rectangular glass or ceramic dish is best. It gives enough space for even baking and that perfect crispy-gooey texture. Ceramic dishes also spread heat well, so your dessert bakes evenly.
Essential Mixing Tools
To make your easy chocolate recipes, you’ll need some reliable tools:
- Large mixing bowls (ceramic or stainless steel)
- Whisk for blending dry ingredients
- Rubber spatula for scraping batter
- Electric mixer (optional but helpful)
Precise Measuring Equipment
Accuracy is vital in baking. Get quality measuring tools for consistent results:
- Dry measuring cups with flat edges
- Liquid measuring cups with clear markings
- Measuring spoons in various sizes
- Digital kitchen scale for precise ingredient measurements
With these tools, you’re set to make a delicious chocolate cobbler. Good baking is about technique and the right tools.
Step-by-Step Chocolate Cobbler Recipe

Making the perfect chocolate cobbler is simpler than you think. This guide will show you how to create a rich dessert that will wow your loved ones.
First, get all your ingredients ready and heat your oven to 350°F. Starting with the right preparation is essential for a great chocolate cobbler.
- Prepare the Baking Dish
- Grease a 9×13 inch baking dish
- Melt 1/2 cup of butter directly in the dish
- Mix Dry Ingredients
- Combine 1 cup flour
- 1 cup sugar
- 2 teaspoons baking powder
- 1/2 teaspoon salt
- Create the Chocolate Batter
- Whisk in 1/2 cup milk
- Add 1/4 cup cocoa powder
- Mix until smooth
- Layer and Bake
- Pour batter over melted butter
- Sprinkle 1 cup brown sugar on top
- Pour 1 1/2 cups hot water over entire mixture
- Do not stir
- Bake for 35-40 minutes
Your chocolate cobbler will turn into a magical two-layer dessert. It will have a gooey chocolate sauce and a cakey top. The secret is not to stir it while it bakes.
“The best desserts are made with love and a little bit of patience!” – Pastry Chef
After baking, let the cobbler cool for 15 minutes before serving. It will be a warm, rich dessert perfect for any event.
Tips for Achieving the Perfect Texture
Creating the ultimate chocolate cobbler needs precision and careful technique. Mastering cobbler baking is about understanding small details. These details can turn your dessert from good to extraordinary. The texture of your homemade chocolate desserts depends on several critical factors.
Achieving the perfect texture in your chocolate cobbler involves paying attention to three key elements:
Optimal Butter Preparation
The temperature of your butter is key in cobbler baking. Room temperature butter ensures smooth mixing and even distribution. Cold butter can create uneven pockets, while overly melted butter might compromise the dessert’s structure.
- Let butter sit at room temperature for 30 minutes before baking
- Cut butter into small cubes for faster warming
- Avoid using microwave to soften butter
Precision in Mixing
Mixing techniques can greatly impact your homemade chocolate desserts. Overmixing leads to a tough, dense cobbler, while undermixing results in uneven texture.
- Mix dry ingredients separately
- Fold wet ingredients gently
- Stop mixing when ingredients are just combined
Baking Time Mastery
Baking time is critical in creating the signature two-layer texture of a chocolate cobbler. Your goal is a crispy top and a gooey, fudgy bottom. Let the cobbler rest for 15-20 minutes after baking to allow the sauce to thicken and set perfectly.
Pro tip for cobbler baking: Use a toothpick test to check doneness. Insert it near the edge – it should come out with a few moist crumbs. This indicates the ideal baking point for your homemade chocolate desserts.
Common Mistakes to Avoid

Making the perfect chocolate cobbler can be challenging. Even skilled bakers can run into issues that affect the dessert’s taste and texture. Knowing these common mistakes will help you make a delicious treat every time.
One big mistake is stirring the batter after adding hot water. This step is key to getting the dessert’s unique two-layer look. Stirring can mess up this process, making the dessert less appealing.
- Avoid overmixing the batter – gentle folding is key
- Use the correct type of cocoa powder
- Maintain precise oven temperature
- Allow proper setting time before serving
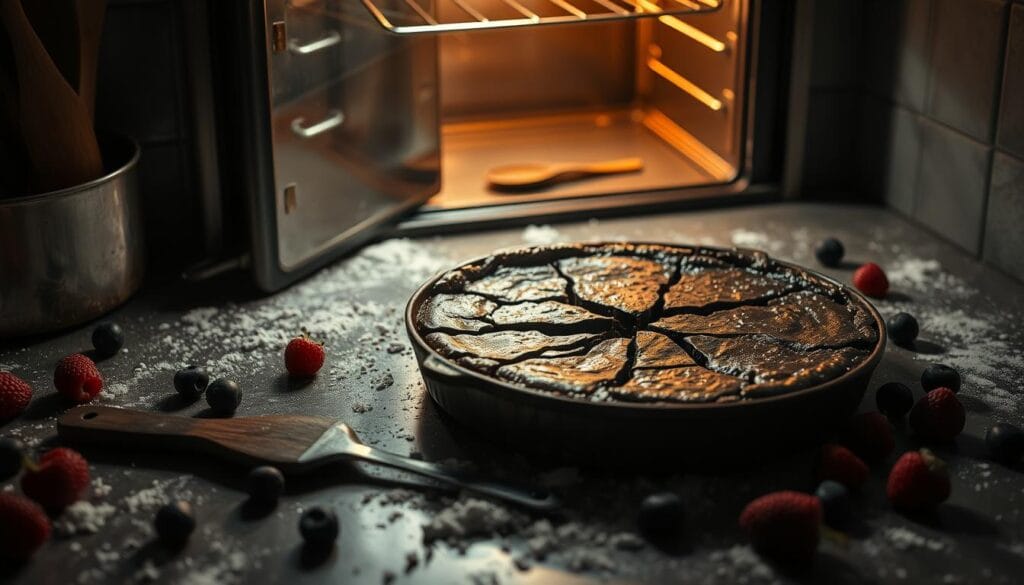
Another mistake is overbaking the cobbler. Keep an eye on it during the last few minutes. It should have a set top and a gooey chocolate sauce underneath. Baking it a bit too long can make it dry and crumbly.
Getting the temperature right is also important. Make sure your ingredients are at room temperature before mixing. Cold butter or eggs can affect the cobbler’s texture.
- Check oven temperature with a separate thermometer
- Use fresh, high-quality cocoa powder
- Let ingredients reach room temperature
- Follow recipe measurements precisely
By avoiding these mistakes, you’ll make a chocolate cobbler that will wow your loved ones. Remember, practice makes perfect. Don’t worry if your first try isn’t perfect.
Serving Suggestions and Pairings
Your chocolate cobbler becomes a special treat with the right serving tips. These desserts are best when you add thoughtful touches. They make the rich chocolate even more enjoyable.
Temperature Considerations
The temperature of your chocolate cobbler is key. Serve it warm, about 10-15 minutes after baking. This keeps the chocolate sauce gooey and the top crispy.
Ice Cream Combinations
Vanilla ice cream is a classic choice for chocolate cobbler. But, you can try other flavors too:
- Salted caramel ice cream
- Mint chocolate chip
- Hazelnut gelato
- Espresso-flavored ice cream
Garnishing Ideas
Make your chocolate dessert look great with these garnishes:
- Dust with powdered sugar
- Drizzle with warm caramel sauce
- Sprinkle fresh raspberries
- Add a mint leaf for color
- Grate dark chocolate shavings on top
These tips are perfect for any occasion. Whether it’s a family dinner or a fancy party, your chocolate cobbler will impress everyone.
Storage and Reheating Guidelines

Keeping your homemade chocolate desserts fresh is important. Your chocolate cobbler can stay tasty for days with the right care.
Refrigeration is key to keeping your dessert fresh. Here’s how to store your cobbler:
- Cool the cobbler completely at room temperature
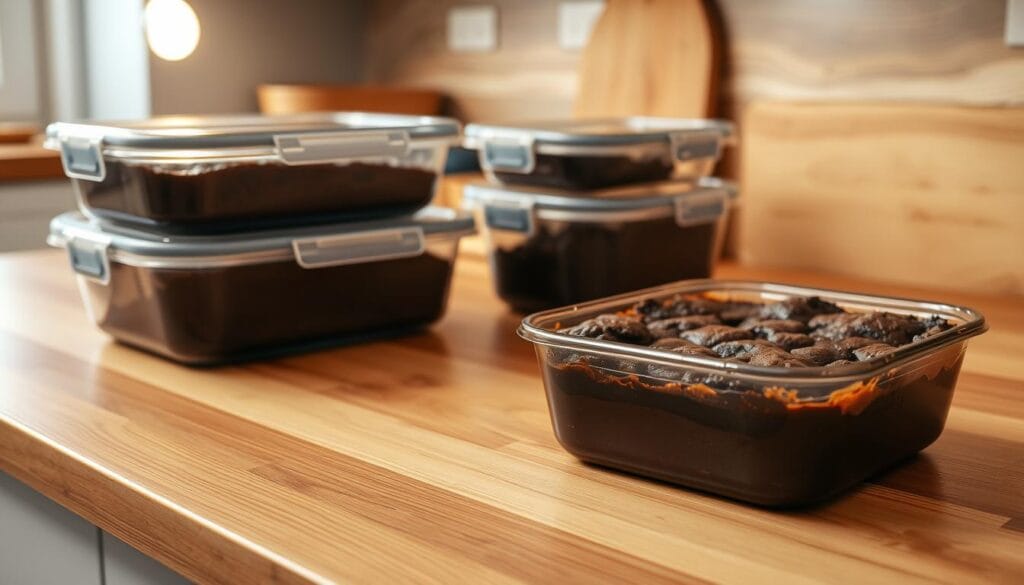
- Use an airtight container for storage
- Refrigerate within 2 hours of baking
- Store for up to 4-5 days in the refrigerator
Reheating your chocolate desserts needs gentle care. This helps them stay warm and soft. Here are two good ways to reheat:
- Oven Method:
- Preheat oven to 350°F
- Cover cobbler with aluminum foil
- Heat for 10-15 minutes
- Microwave Method:
- Use medium power setting
- Heat in 30-second intervals
- Check temperature between intervals
Freezing is also a good option for longer storage. Wrap the dessert tightly in plastic wrap and put it in a freezer-safe container. It can be frozen for up to 3 months. Thaw it in the fridge overnight before reheating.
Pro tip: Always serve your reheated chocolate cobbler warm for the best flavor and texture experience!
Variations and Substitutions
Transform your classic chocolate dessert with creative twists. These changes cater to different tastes and dietary needs. They keep the delicious essence of your chocolate cobbler.
Adaptability is key in making the perfect chocolate cobbler. Whether you’re managing dietary restrictions or just want to try new things, these variations will spark your creativity.
Gluten-Free Options
Making a gluten-free chocolate cobbler is simpler than you might think. Try these flour alternatives:
- Almond flour
- Coconut flour
- Gluten-free all-purpose flour blend
- Oat flour (certified gluten-free)
Dairy-Free Alternatives
Dairy restrictions don’t mean you have to give up flavor. Use these substitutes for traditional ingredients:
| Original Ingredient | Dairy-Free Replacement |
|---|---|
| Butter | Coconut oil |
| Milk | Almond milk |
| Heavy cream | Coconut cream |
Flavor Enhancements
Add exciting twists to your chocolate cobbler with these ideas:
- Espresso powder for a rich mocha flavor
- Chopped nuts for extra texture
- Different chocolate types (dark, milk, white)
- A hint of cinnamon or orange zest
Baking is an adventure. Don’t be afraid to try new things and make your chocolate cobbler unique!
Nutritional Information and Serving Size
Indulging in homemade chocolate desserts is fun. But knowing the nutritional facts helps you enjoy them wisely. A standard serving of chocolate cobbler offers a tasty mix of flavor and health benefits.
Here’s a breakdown of the nutritional details for one serving:
| Nutrient | Amount | Percentage Daily Value |
|---|---|---|
| Calories | 394 | 20% |
| Total Carbohydrates | 77g | 28% |
| Protein | 4g | 8% |
| Total Fat | 9g | 12% |
Here are some tips for enjoying this rich dessert:
- Recommended portion size: 1 medium slice (about 1/8 of the cobbler)
- Best enjoyed as an occasional treat
- Pair with lighter meals to balance caloric intake
Pro tip: Enjoy these treats in moderation. You can make lighter versions by using different ingredients.
“Enjoying dessert is about balance, not deprivation.” – Nutrition Expert
Conclusion
Diving into classic southern desserts, we find the chocolate cobbler is a true gem. It’s a mix of simplicity and indulgence in one dish. Mastering this dessert opens up new baking possibilities.
The two-layer formation makes chocolate cobbler stand out. Its rich chocolate flavor and easy prep make it a spectacular treat. It’s perfect for both experienced bakers and beginners who love a sweet treat.
This guide has given you the skills to turn a basic recipe into a show-stopper. You can now experiment with ingredients, adapt to dietary needs, and impress others with your creativity. The chocolate cobbler is more than a recipe; it’s a delicious adventure in your kitchen.
Baking is about joy, exploration, and sharing delightful moments. Your chocolate cobbler journey has just started. The possibilities are as rich and inviting as the dessert itself. Embrace the process, trust your skills, and enjoy every bite of your homemade classic southern dessert.


1 thought on “Delicious Chocolate Cobbler Recipe”